


How to mount a Bobber seat
- What is a Bobber seat?
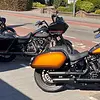
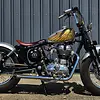
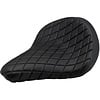
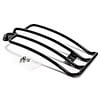
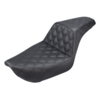
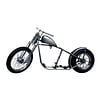
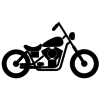
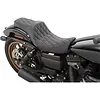
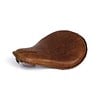
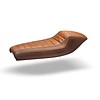
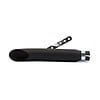
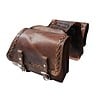
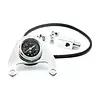
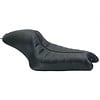
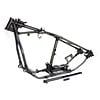
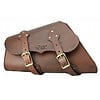
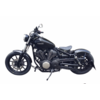
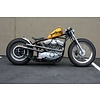
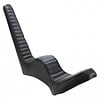
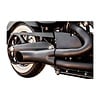
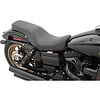
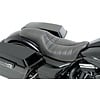
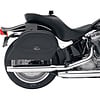
Most Bobber motorcycles have single seats, which are typically seen on bikes like Harley Davidson, Indian and Triumph. These seats have a shape similar to the ones of a bicycle, as both of them have a hinge and two springs. This type of seat is ideal on a Bobber because the rigid frame provides it with the necessary support.
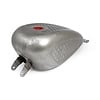
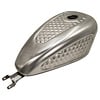
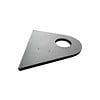
When building a Bobber, you want to make your motorcycle lightweight. The same goes for the seat, which is why a solo version is preferable. The seat is usually composed of a pan with studs for mounting. The foam on the seating area ensures your comfort during your everyday ride.
- Why a Bobber seat?
Bobber seats are lightweight, good-looking and extremely customizable. This allows you to give your bike the look you want and the style it deserves. A wide range of products is available so that you can make your motorcycle unique! On the custom motorcycle scene, these seats are particularly appreciated because they are available in a lot of different variants. After all, who does not want to give a unique and awesome look to their bike?
- How to choose your seat?
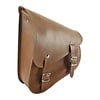
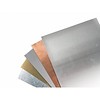
As mentioned above, you have a lot of options to choose from. The base pan is usually made of metal such as steel and with an eventual coating. The seat is filled with polyurethane foam more often than not and finally, the cover can be made of leather, PU leather, vinyl, etc. Sometimes, you can even choose the stitching of the seat (Tuck ‘N Roll, Diamond stitching). Everything is possible and you are bound to find something that will suit your wants and needs.
- What hardware is required?
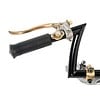
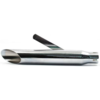
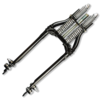
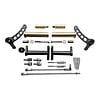
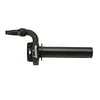
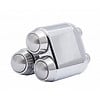
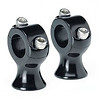
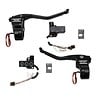
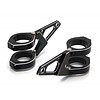
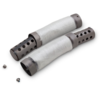
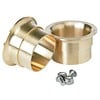
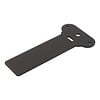
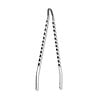
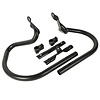
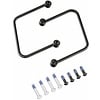
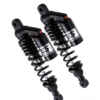
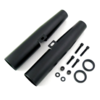
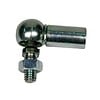
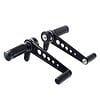
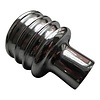
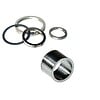
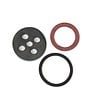
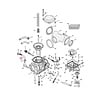
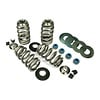
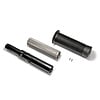
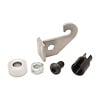
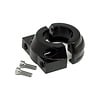
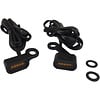
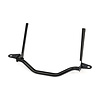
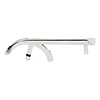
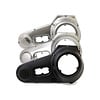
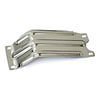
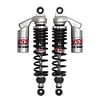
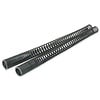
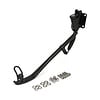
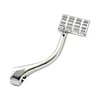
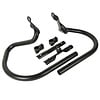
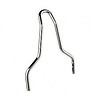
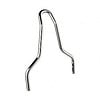
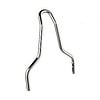
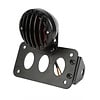
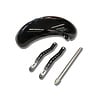
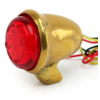
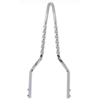
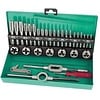
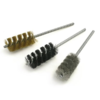
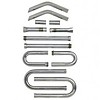
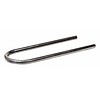
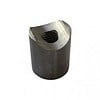
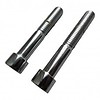
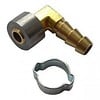
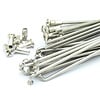
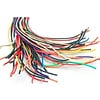
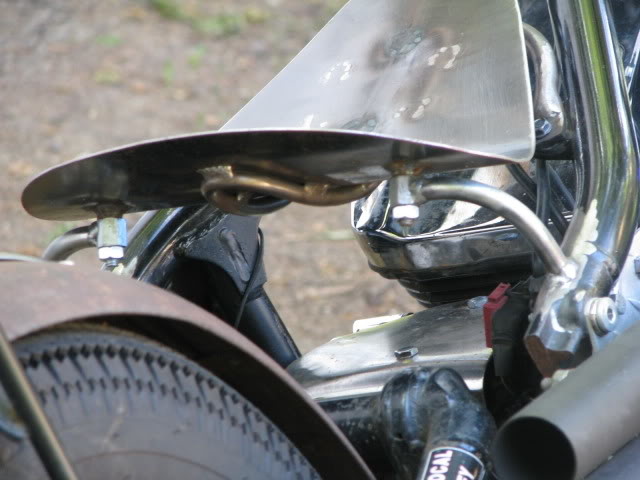
To mount this kind of product, you need a hinge, two springs as well as mounting hardware. This includes bungs and bolts. Sometimes, you will need to weld bungs onto your frame. To proceed, you need to measure the distance between the two studs before welding bungs with the same space between them. If you like working on motorcycles, you probably already have everything you need apart from the seat!
- Step-by-step guide
- First, decide how you want to position your seat on the frame of your motorcycle.
- Measure the distance between the studs located at the bottom of the seat pan.
- Mark the centreline on the frame and then weld the spring mounts (bungs) at the right distance. We recommend using coped bung as they make the mounting process easy.
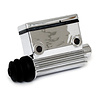
- Mount the hinge by welding it on the backbone of your frame.
- Put washers on the spring mount if you have some in order to protect your motorcycle’s paint.
- Fasten the springs to the seat.
- Finally, mount the seat straight on the hinge and the springs. See the video below for more information.
- Disclaimer
This article is for information purposes only. Motorcycles United cannot be held responsible for any product mishandling or damage resulting from the installation of your seat. Please always wear the proper safety gear when working on your bike.
Sources
https://www.thoughtco.com/making-a-bobber-motorcycle-743590
https://www.bobbercycle.com/blogs/blog/what-is-a-bobber-motorcycle
https://www.lowbrowcustoms.com/blog/how-to-mount-a-solo-seat/#sthash.9KufL1Zw.3zgVbXuq.dpbs
https://www.caferacerwebshop.com