


The electrical system of a motorcycle is usually underestimated, forgotten or avoided by motorcycle builders. Most riders are not familiar with wiring their bikes, it looks difficult and complicated at first, especially when you must start from scratch. However, if you take the time to go through the wiring process step by step, you will notice that it is not difficult at all!
The first step of your adventure will be establishing all the components needed for building your electrical motorcycle system. This is important, as it gives you an overview of what you are going to build. To make it easy for you, we made an overview of the 14 main components you will need for this job:
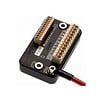
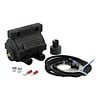
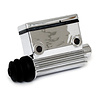
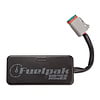
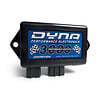
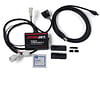
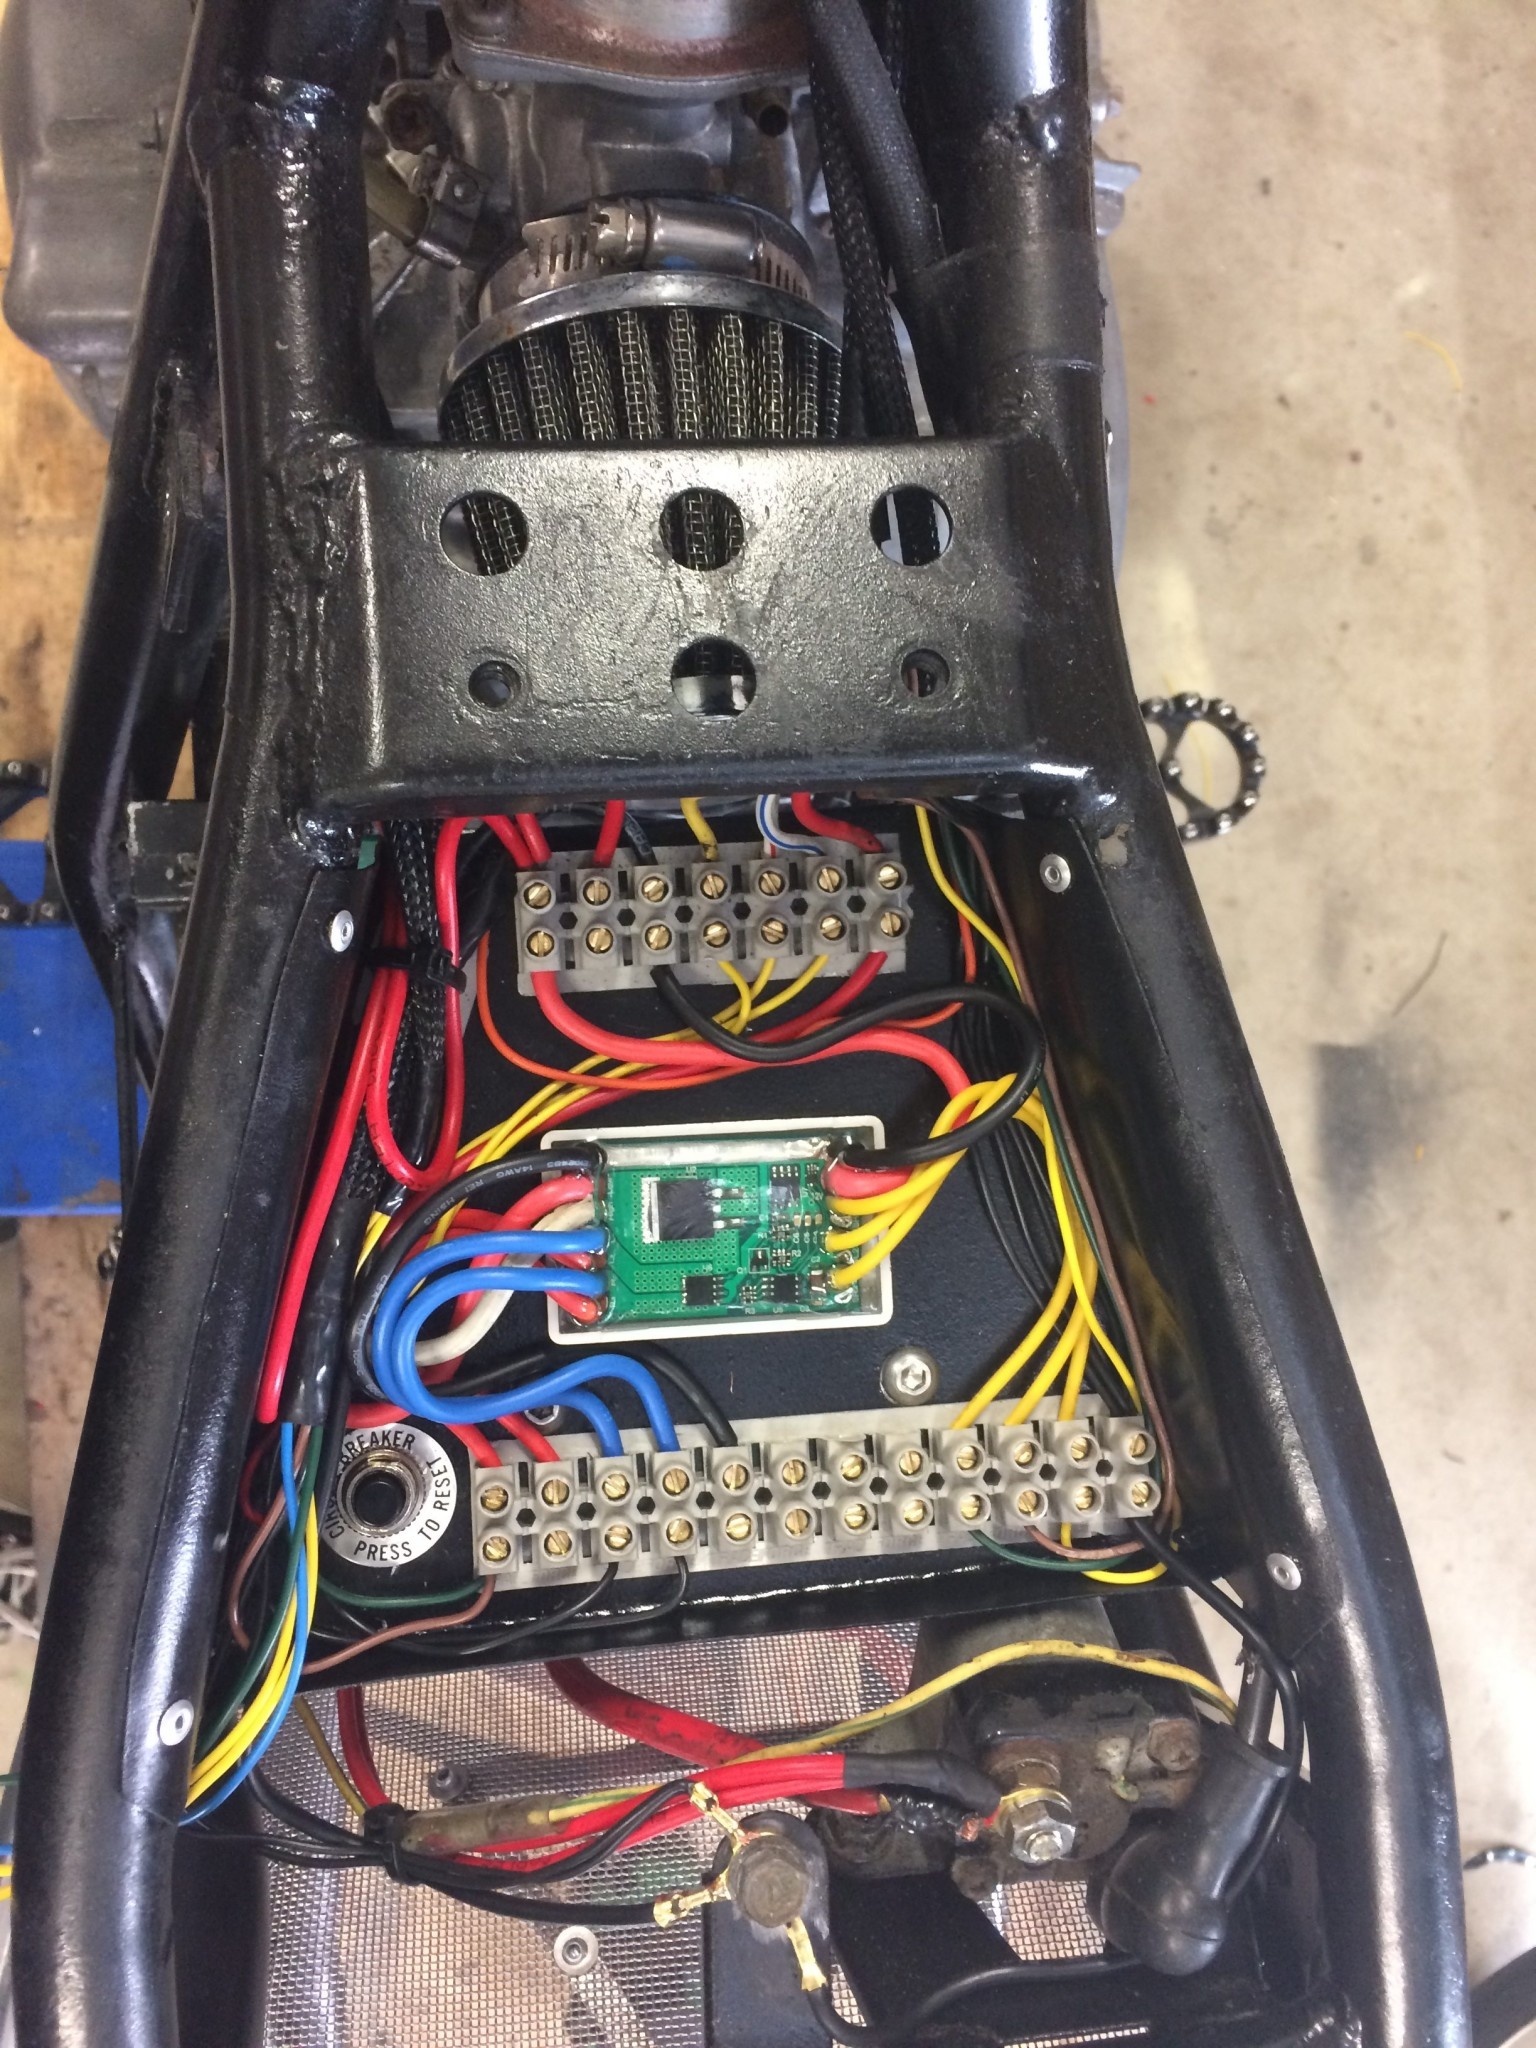
- M-unit
The M-unit is the center of the wiring system. It hooks up to the battery and passes the power to your lights, horn and all your other electronic components.
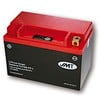
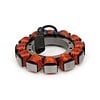
- Battery
The battery provides the electric power for your Harley. When deciding on a battery it is important to look at the amps, volts and amp hour rating, A motorcycle usually needs a 12-volt battery.
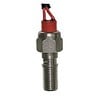
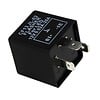
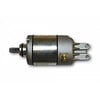
- Starter solenoid
A starter solenoid is a switch that creates the contact point between the battery and the starter. When the ignition switch is turned on, a small electric current is sent through the starter solenoid. This causes the starter solenoid to close a pair of heavy contacts, resulting in relaying a large electric current through the starter motor, which in turn sets the engine in motion.
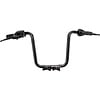
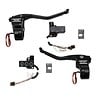
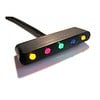
- Handlebar switches
Handlebar switches are designed to give you with a convenient way of controlling all the electrical equipment of your Harley, including the starter, ignition, headlight modes, exterior and emergency lights, computer option selectors, brake pressure switch, turn signals, horn, and other accessories.
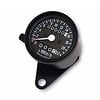
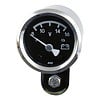
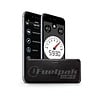
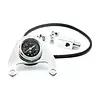
- Instrument panel
The instrument panel or dashboard holds an array of dials, lights, and gauges built into it that monitor the performance of your Harley and let you see what systems are on or of. These are for example the speedometer and the tachometer.
- Ignition system
The job of the ignition system is to set a spark at the right moment within the cylinder. This spark ignites the fuel-air mixture within the cylinder.
- Charging system
The charging system consists of two main components: the alternator and the regulator/rectifier. The alternator creates alternating currents to run the bike and charge the battery. The regulator/rectifier changes, the alternating current produced by the alternator into direct current so it can be stored in the battery. It also regulates the amount of current produced to prevent overcharging.
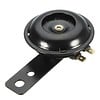
- Horn
The horn is used to warn someone of danger.
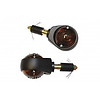
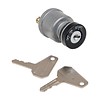
- Ignition switch
An ignition switch or starter switch is a switch in the control system of Harley and activates the main electrical systems for the vehicle. This is where you put your key in.
- Brake light switches
Activates the brake lights when brakes are pressed.
- Engine sensors
Depending on the engine's design, your bike can be equipped with sensors detecting the current crank position, air pressure and temperature in the intake, throttle position, oxygen content in the exhaust gas, etc.
- Speed sensor
Measures the speed at which you are traveling.
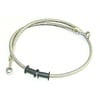
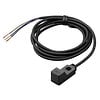
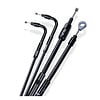
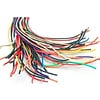
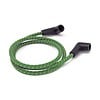
- Wiring harness
The wiring harness is composed of all the cables that connect to the m-unit and all the electrical components.
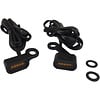
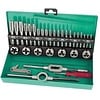
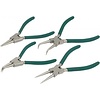
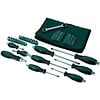
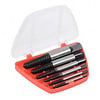
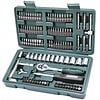
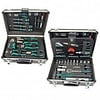
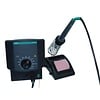
- Tools
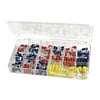
In order to create the electrical circuit, you need the following tools and equipment: electrical tape/fish tape, liquid tape (optional), wire stripper, plier, screwdrivers, heat shrinking material and a multimeter. If it's necessary to connect individual wires with each other you can also use soldering equipment.
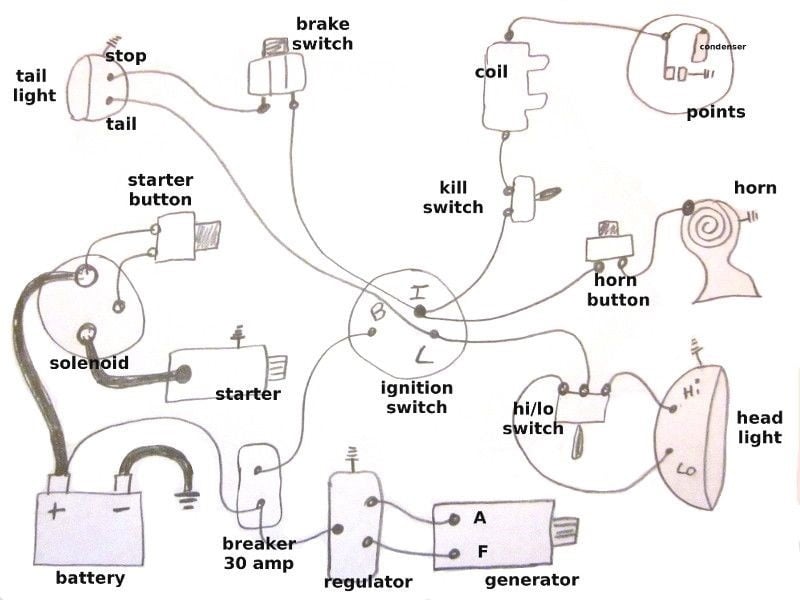
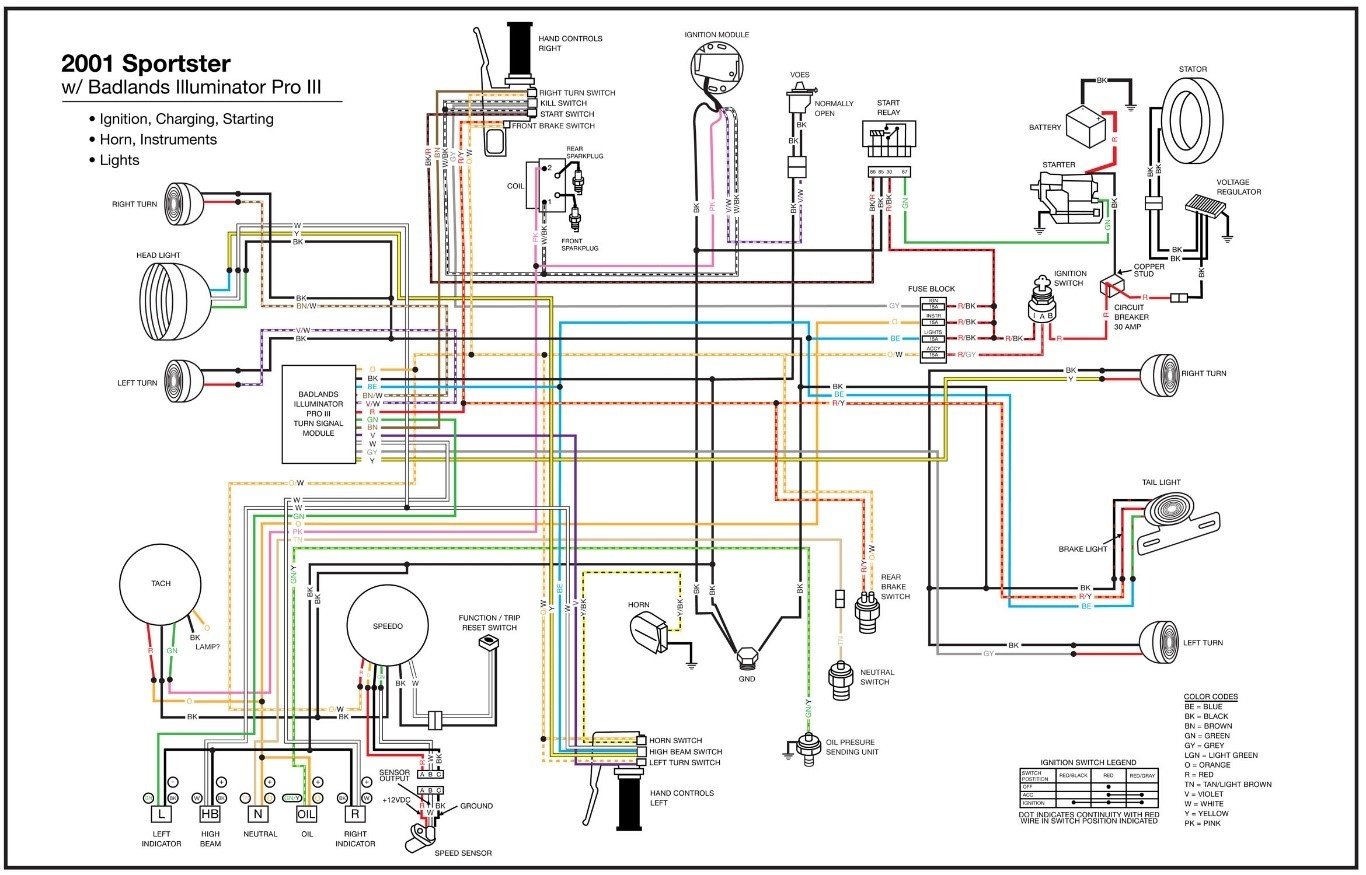
Wiring Diagram
After you have gathered all your materials for the electrical system, it is time to draw or find the wiring diagram suitable for your motorcycle.
The wiring diagram shows exactly how all components of the circuit are connected. It also shows the relative position and arrangement of all components. Examples of a self-made and original wiring diagram can be seen below.
You can draw your own wiring diagram however it is also very easy to find original motorcycle wiring diagrams with a click on the internet.
Tips for wiring your motorcycle
After you have got the wiring diagram covered it is time to do the actual wiring work. To help with this we have a few tips for you to avoid any mistakes which will make the building process less frustrating.
Length of your cables
Firstly, it is advisable to always leave some extra length to your cables. This is because wires sometimes have to go around other parts which makes you need a longer cable. Keep this in mind when you are measuring and cutting the wires. Making the wire a bit longer than you think is needed is always better than finding out the wire is too short afterward. You can always cut the wire shorter, but you cannot tape it back together.
Wiring route
The next tip is to make sure you have a good wiring route. There are a lot of places on a motorcycle that can get hot during a ride. Try to keep wires away from hot places as much as possible and try to keep them away from moving parts. Always check if the suspension components and the steering head don’t cause any trouble.
Quality wire
Use a high-quality wire for your wiring project. The wires need to be able to withstand violent vibration, raining weather and heat to an extent. In addition to that, you must carefully measure and calculate how much wiring you are going to need.
Take a break
Wiring your Harley will take time and effort. This will probably make you frustrated sometimes if you get stuck with something. Therefore, doing some other projects alongside this one will make you much more motivated to work on this project as you won’t get too carried away by it.
Battery connection
Furthermore, make sure you connect the positive and negative lead cable correctly. This is the number one issue most builders experience.
Poor connections
When a bike frame is stripped and painted, some electrical points can get covered by paint. This will cause poor connections. Consequently, the battery may not charge; lights or instruments will not be functioning properly or there can be ignition issues.
When you do have an electrical problem, start by testing whether the faulty component is properly wired. This can be done by connecting a multi-meter and testing the resistance between your negative battery terminal and any part on your bike that should conduct electricity. There shouldn’t be a reading above 1.5 ohms between the battery and any part of your motorcycle. This can be prevented by using heat shrink at electrical joint points.
Sharp edges
When wiring your Harley it's important to organize the wires and protect them from sharp edges or mechanical damage. Before you start, check everywhere for possible sharpness. Common places you can find sharp edges or pinch points on motorcycles include:
- Steering stops and places where cables move or flex when the handlebars are turned
- Between the frame and bikes seat
- At the places where your fuel tank mounts to the frame
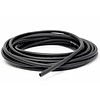
Make sure you think about where you want to run your cables and use a good quality cable sleeve/snakeskin. Snakeskin is a durable woven flexible sleeve that holds the cables to give them some extra protection. Plus, it makes your wiring system look much cooler!
Improper joints
Another common mistake riders make during the wiring process is using improper joints and connectors. This can be solved by avoiding unnecessary joints. If a cable is too short or has multiple joints already, pull it out and replace it instead of creating another joint.
Labeling
The last tip we want to give you is: Label your wires. This helps you find the correct wires and saves some time following the wires back to base when you forget the purpose of a wire.