


The steps to take, adjusting the carburettor:
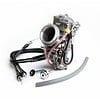
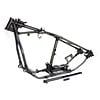
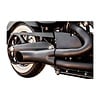
The first thing to do, is to remove the carburetor from your Harley-Davidson but don't worry, this is not too complicated. With these few steps it works quite simply.
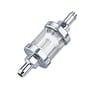
- Start by closing the fuel valve of the fuel tap and start the engine so that all the fuel in the carburetor bowl can be drained.
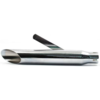
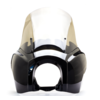
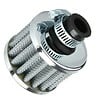
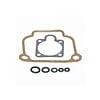
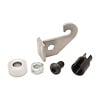
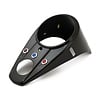
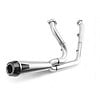
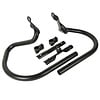
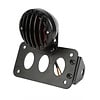
- Remove the air cleaner assembly including the mounting plate, which is attached to each head with a banjo bolt.
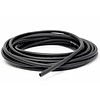
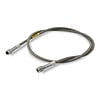
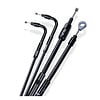
- Remove the choke cable from its holder on the opposite side of the motorcycle. The choke cable can remain attached to the carburetor during the process by simply undoing the knob end from the hormone holder. This will save you a bit of work. Disconnect the fuel line from the fuel inlet on the carburetor or the opposite end connected to the fuel tap, whichever is easier to reach. The hose is probably secured with a special crimped clamp.
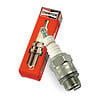
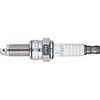
- Tip: Be sure to install a new set of spark plugs when tuning.
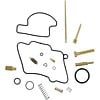
Important: Before you take your carburetor out of service, we recommend you carry out a tuning procedure. The correct fine-tuning of the mixture is very important for the performance of the carburetor and should be done when replacing the carburetor.
- Next, release both throttle cables from their adjusters, which are located just behind the point where they exit the throttle grip. A few turns are usually enough to have enough play.
Tip: This is a good time to label the individual cables to avoid confusion when reconnecting them to the carburetor throttle cams. A simple "top" and "bottom" should be sufficient for the labeling of the individual moves. If your model has several vacuum hoses, it would be a good idea to label them as well
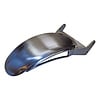
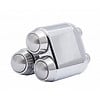
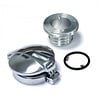
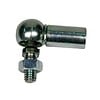
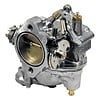
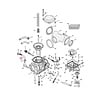
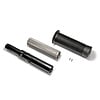
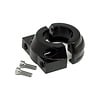
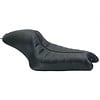
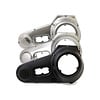
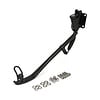
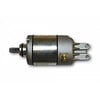
- Now that you have enough play in the trains, you can pull the carburetor away from the manifold. This should be easily done by slightly moving the carburetor, as a Harley carburetor is only attached with a slip-fit rubber cap.
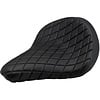
- Place the removed carburetor upside down on a stable work surface. Do not remove the shell at this point to prevent dirt from entering the carburetor.
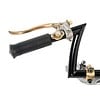
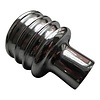
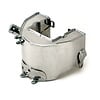
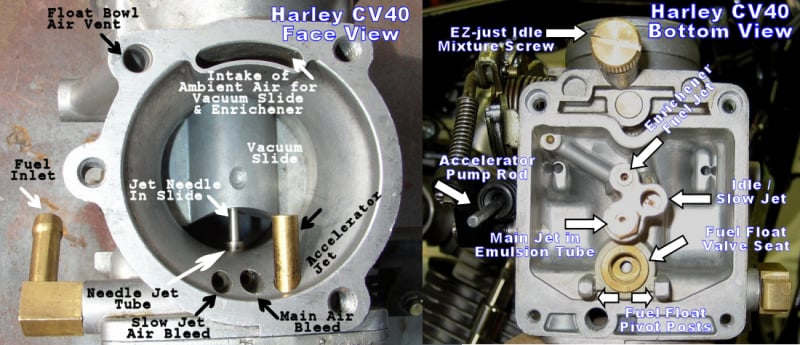
- The CV-style Harley carburetor has a small cylindrical turret that protrudes from the lower rear part of the spigot (behind the bowl) The access to this screw is the key to fine tuning and must be removed
Tip: Fasten the carburetor either in a vice or by other means that allow the carburetor to remain stable.
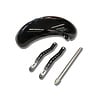
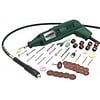
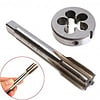
- Now drill a hole in the plug and take care not to "drill through" it too quickly. You do not want to damage the mixture screw directly under the plug. Let the drill cut slowly into the plug instead of pressing it.
- Then lift the plug out of the hole. If, then the plug is removed, clean the area around the mixture screw so that no metal fragments are left. At this point, there are two methods to adjust the mixture.
So far so good. Now we come to the mixture adjustment.
There are two common methods for this. One of them we will introduce to you.
How adjust the carburettor:
- Turn the screw clockwise with a small flathead screwdriver until it fits gently. Do not overtighten, as this would damage the needle screw!
- Count how many turns are required to reach the closed position. Mark the screwdriver, if necessary, to count each turn correctly.
- now unscrew the screw counterclockwise and stop at a 1/4 turn beyond the originally counted. For example, if you have turned the screw 1-1/2 turns, unscrew it 1-3/4 turns. This is your starting point, and only then can your idle mixture be slightly richer than the factory EPA setting. In many cases this will be the ideal setting.
Tip: While the carburetor is off, it is a good time to inspect the vacuum slide. The slider should be able to move freely up and down. If this is not the case, it should be replaced.
- Reinstall the carburetor into your Harley by reversing the steps you took when removing it. Be sure to replace the fuel hose clamp and vacuum lines.
Important: Make sure that the carburetor is firmly reinstalled on the manifold cover. Test the throttle valve for tight fit and ease of movement. Double check each hose and connection.
- The air filter unit MUST be installed before starting the engine, not only to keep the carburetor in place, but also to prevent the carburetor from blowing backwards when tuning in the face. Start the engine as usual and bring it to operating temperature before fine-tuning. Do not leave the motorcycle idling for more than 5 minutes. The modified carburetor should allow your motorcycle to run well enough to do a mild test run around the block to speed up the warm-up process.
- Fine-tuning:
When the engine has warmed up, you may now begin the fine-tuning process with the idle screw to start the fine tuning to ensure optimum power output.
You will need a small screwdriver to adjust the screw, unless an EZ-Just has been installed. With the engine idling slowly no more than 800- 900 rpm, turn the screw SLOWLY inward (clockwise) until the engine begins to stall. You work with the screw on the head, so make sure you turn the screw clockwise or inward.
- Now, turn the mixture screw outwards (anti-clockwise) until the engine starts running smoothly, then add 1/8 turn. Maintain the correct idle speed and repeat the adjustment each time you adjust the idle speed. Operate the throttle a few times and observe the results. If the engine responds quickly with a steady blowout and no backfire from the carburetor, you have the correct idle mixture.
Caution:
Black smoke seen from the exhaust at idle or a feeling of sluggishness off idle indicates you may have set the mixture too rich.
If you have followed all the steps and your bike is running cleanly at idle, there is nothing to stop you riding!